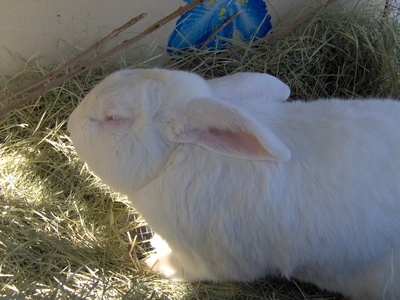
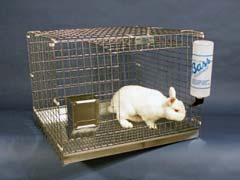
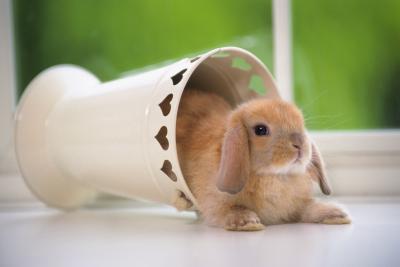
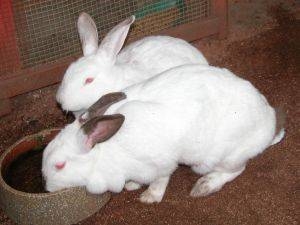
How to Build a Wood Framed Rabbit Cage. One way to keep pet rabbits safe from predators and outdoor elements is by building a wood- framed cage. This allows access to the rabbit from the top of the cage and the wire allows you to see the rabbit without opening a door. If the cage is outdoors, use treated lumber and paint the plywood parts with exterior grade paint.
Place four of the 2-by-4-by-48-inch lumber on a work table along with the four 2-by-4-by-24-inch lumber. Apply glue to the 24-inch lumber and secure it to the 48-inch lumber with the 8d box nails, flushing it with one edge and one end.
Apply glue to one edge of the 24-by-24-by-3/4-inch plywood and secure them on the ends of the 24-by-36-by-3/4-inch plywood with the 3d box nails. Next, apply glue to the ends of the 2-by-4-by-34½-inch lumber and secure it between the 24-by-24-by-¾-inch plywood at the top with the 3d box nails.
Apply glue to the inside of the legs above the 2-by-4 supports and secure them to the four corners of the assembly from Step 2 with the 3d box nails. Secure the 37½-by-24¾-by-¾-inch plywood to the legs and bottom on the side opposite the 34½-inch 2-by-4 with the 3d box nails.
Place the 37½-by-30-by-3/4-inch plywood on the work table. Measure in from one end of the plywood and make marks at 12¾ and 24¾ inches. Place the framing square on the marks and draw across the 30-inch width of the plywood.
Measure down the lines from Step 4 and make mark at 12 inches. Place the framing square on the marks and draw a line connecting the two marks. Cut this out with the jigsaw.
Install the piano hinge on the cut-out piece with the screws provided. Set the cut-out piece back into the plywood from which it came and secure it with the screws provided. This is the top of the rabbit cage with a hinged door.
Secure the top to the top of the rabbit cage with the 4d box nails. Secure the rabbit wire to the front of the rabbit cage with ¾-inch staples and the staple gun.
 How to Make Urine Guards for Rabbit Cages
How to Make Urine Guards for Rabbit Cages
How to Make Urine Guards for Rabbit Cages
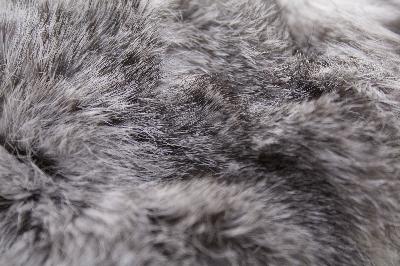 How to Wash Rabbit Fur
How to Wash Rab
How to Wash Rabbit Fur
How to Wash Rabbit Fur
How to Wash Rab
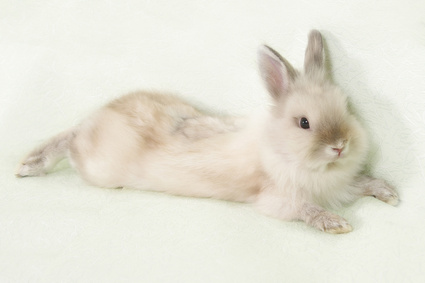
 DIY Pet Bed for a Rabbit
DIY Pet Bed f
DIY Pet Bed for a Rabbit
DIY Pet Bed for a Rabbit
DIY Pet Bed f
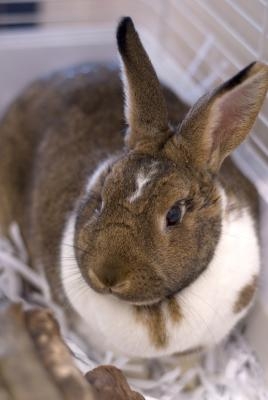
 How to Clean a Wooden Rabbit Cage
How
How to Clean a Wooden Rabbit Cage
How to Clean a Wooden Rabbit Cage
How
 How to Raise a Pet Rabbit
How to Raise
How to Raise a Pet Rabbit
How to Raise a Pet Rabbit
How to Raise
Copyright © 2005-2016 Pet Information All Rights Reserved
Contact us: www162date@outlook.com