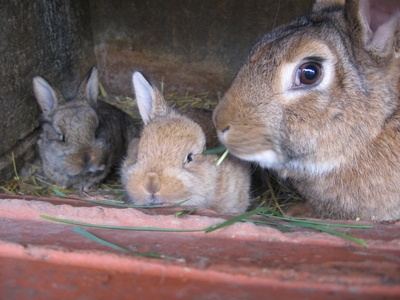
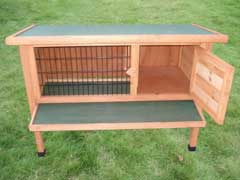
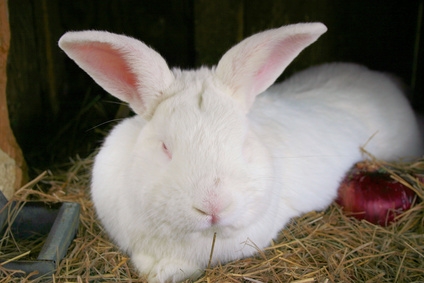
How to Build a Rabbit Hutch With a Run. Rabbits make excellent house pets, but it is important to make them feel comfortable. Provide a pet rabbit with a fenced-in hutch that will provide them with room to move around. This will give your pet rabbit an adequate amount of security. Be sure to provide your rabbit with a nesting box for additional comfort. The following plans are for an indoor rabbit hutch, but could be modified for outdoor use.
Bend the 18 by 132 inch piece of wire to create the sides of the rabbit hutch. Measure 36 inches and bend the wire at a right angle. Starting from that bend, measure an additional 30 inches and bend the wire at a right angle. From that point, measure another 36 inches and bend at a right angle. You should be left with a fourth side that measures 30 inches.
Attach the open ends of the bent piece using hog rings. Place hog rings at five-inch intervals and make sure the wire is firmly secured. Use hog rings at five-inch intervals to attach the hardware cloth to the bottom of the pen and the 30 by 36 inch woven wire to the top of the pen. Trim off any extra hardware cloth using tin snips.
Cut a 12-inch high and 13-inch wide door in one side of the wire pen using wire cutters. Secure the 14 by 15 inch piece of wire on one side of the hole using hog rings. Secure the other side with the pre-made door latch. The wire door should overlap the hole by at least an inch on all sides.
Place the cardboard box on one side of the pen to create a nesting area for the rabbit. Cover the other side of the pen with a grass or sisal mat. Cover the floor with straw. Attach the water bottle to the pen and fill food bowl.
Cover the Formica with newspaper and place the pen on top of it. This will serve as a catch-all for rabbit droppings and urine.
Introduce the rabbit to its new home. Fill the nesting box with a cloth, straw or comfortable rabbit bedding. Place the rabbit's favorite pet toys in the pen with the rabbit.

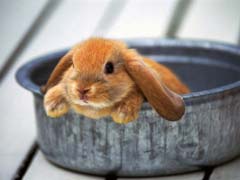
 Rabbit Cages and Supplies Review
When b
Rabbit Cages and Supplies Review
When b
 How to Make a Rabbit Litter Pan
How to
How to Make a Rabbit Litter Pan
How to Make a Rabbit Litter Pan
How to
 How to Build a Rabbit Hutch That Is Easy to Clean
How to Build a Rabbit Hutch That Is Easy to Cl
How to Build a Rabbit Hutch That Is Easy to Clean
How to Build a Rabbit Hutch That Is Easy to Cl
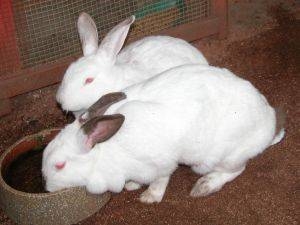
 How to Build Rabbit Cages and Hutches
How to Build Rabbit Cages and Hutches
How to Build Rabbit Cages and Hutches
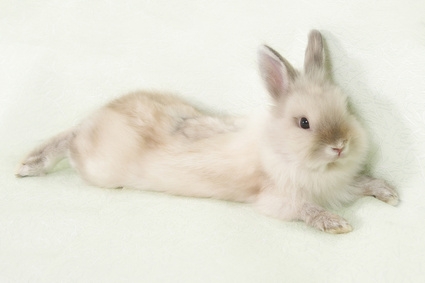
 How to Get a Rabbit to Calm Down
How t
How to Get a Rabbit to Calm Down
How to Get a Rabbit to Calm Down
How t
Copyright © 2005-2016 Pet Information All Rights Reserved
Contact us: www162date@outlook.com