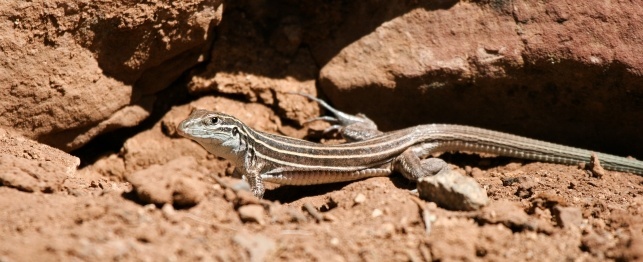
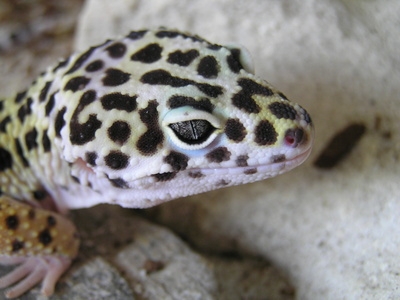
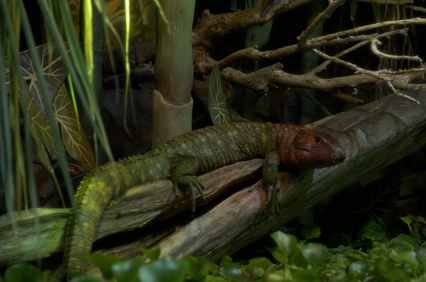
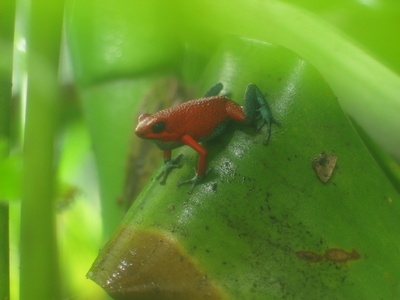
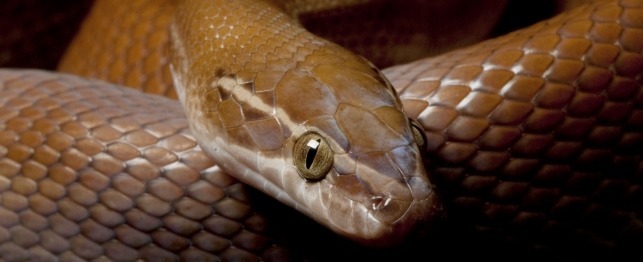
How to Convert a Dresser to a Vivarium. Many reptile pets need a large vivarium in order to stay healthy. However, large vivaria are often expensive, and inexpensive vivaria can be unattractive and unsuitable for public display. Converted-furniture vivaria are an excellent option for the creative reptile owner with a bit of free time. Furniture pieces can provide much more space than the standard aquarium, and you can design the layout specifically to meet the needs of the reptile species that will be housed in the vivarium.
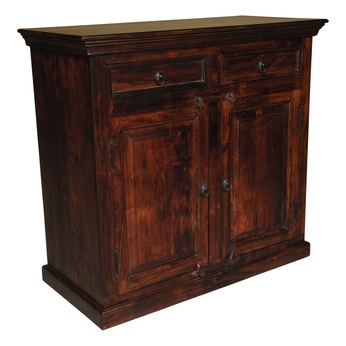
Make a sketch of the dresser you plan to convert to a vivarium.
Decide where to place a hinged Plexiglas access door; you will need to be able to attach small hinges and latches to the frame or drawer supports.
Select optimal locations for the water dish, full-spectrum light and heat lamp. Make sure that the water dish is easily accessible for cleaning and the heat lamp is placed a safe distance from a basking shelf or perch.
Remove drawers from the dresser and set aside. Remove any knobs or hinges that you plan to reuse in your vivarium.
Use a jigsaw to cut large access holes in any vertical partitions in the dresser. Drill a pilot hole to insert the saw blade. Cut the holes large enough for branches to pass through, so that your pet reptile(s) can climb easily between sections. Wear safety glasses when drilling or cutting.
Remove any unnecessary horizontal drawer supports from the dresser. Leave supports on the face of the dresser if you will need them to attach the Plexiglas access door.
Drill holes in the back of the dresser for the full-spectrum and heat-lamp plugs.
Sandpaper any rough edges to prevent splintering.
Apply three to five coats of water-based polyurethane paint to the inside of the dresser only; coat all surfaces. Work in a well-ventilated area and allow paint to dry completely between coats.
Measure and mark the Plexiglas pieces that will cover the front of your vivarium and form the access door. Score the Plexiglas along the cut lines by pressing firmly with a razor knife. Place a pencil under the scored line and press firmly on each side to break the Plexiglas along the score line. Mark and drill screw holes in the Plexiglas. Remove the thin plastic-wrap coating from each side of the Plexiglas.
Attach the hinges and latches to the Plexiglas access door using silicone aquarium sealant. Allow to dry completely. Attach the Plexiglas to the dresser using wood screws and hinges. Mark and drill holes for the access-door latch pins.
Seal the Plexiglas front to the dresser edge using a thin line of silicone aquarium sealant around the inner edge. Allow to dry completely.
Attach the fluorescent light fixture and ceramic heat-lamp holder to the inside of the assembled vivarium. Pass the power cords through the predrilled holes in the back of the vivarium. Use silicone aquarium sealant to fill the gap around each power cord. Allow to dry completely.
Add the water dish to the completed vivarium.
Fill the bottom of the vivarium with a mixture of moist potting soil and sphagnum peat moss. The soil should be level with the top of the water dish.
Add branches to the vivarium in strategic locations to allow your pet reptile(s) to move about the vivarium. Use wood screws to secure the branches in place if needed.
Remove potted plants from their pots and plant them in the vivarium. Leave plenty of room for your pet reptile(s) to move about freely.
Fill the water dish with aged water--tap water that has been allowed to sit overnight so that the chlorine can evaporate.
Copyright © 2005-2016 Pet Information All Rights Reserved
Contact us: www162date@outlook.com