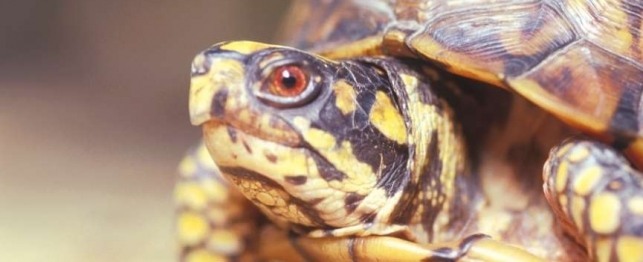
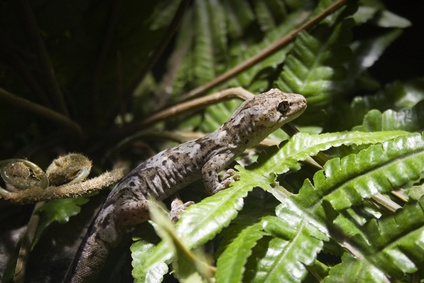
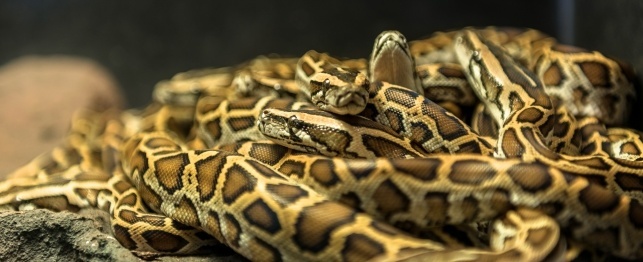
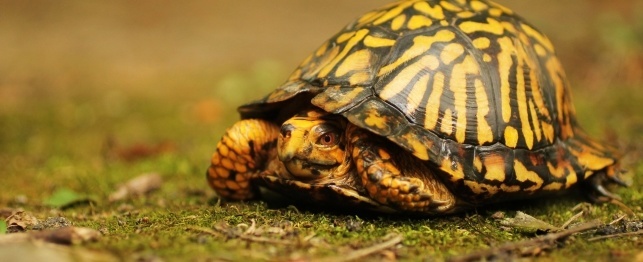
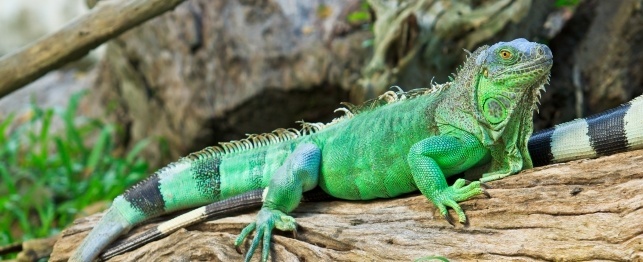
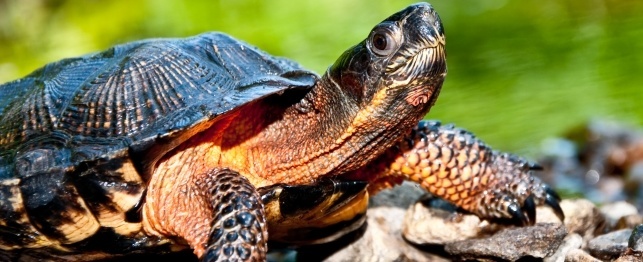
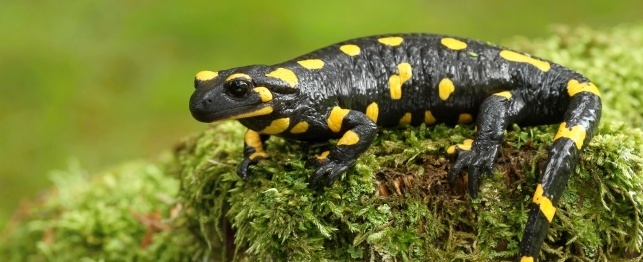
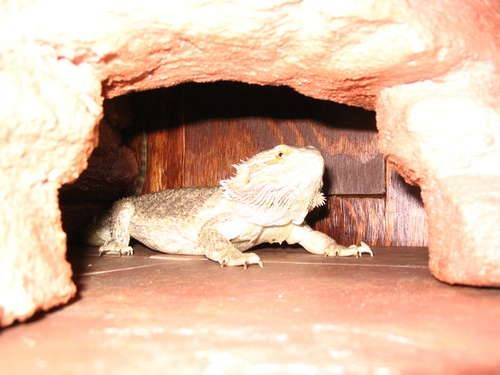
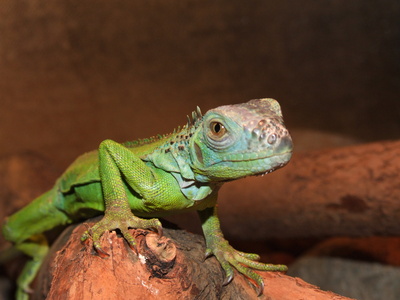
How to Build a Fake Rock Cave. All reptiles need a place where they can hide and feel safe. A rock cave is a wonderful addition to your reptile's habitat --- but real rock can be heavy and dangerous and ones in the pet store that look like rock can be expensive or, annoyingly, "one size fits all" that doesn't fit all. Building your own rock cave allows you the ability to customize it to your and your reptile's special needs.
Remove your reptile to a temporary home because the construction site will not be a safe place for it.
Place newspaper into the bottom of your habitat. This will make it easier to build inside and draw reference points. Building inside of it allows you to make the cave the perfect size.
Start with laying things out and rough cuts. (The detailed work will come later.) This is about getting your basic shape together so don't glue anything down yet. Leave room around the edges to work so that you have room to grout later.
Trace the outline of your shape onto the newspaper below it. Mark your pieces so that you know where they go.
Start gluing things down by working from the bottom up. Glue one layer at a time but don't glue it to the floor.
Spray your foam insulator into the little holes or gaps that you have. You can also use it to build up areas. Leave it overnight to allow it to expand and dry.
Carve your final shape. This is your time to get creative. Just remember --- fine detail work will get lost in the grout so if you want it to show up, make deep cuts.
Mix your grout. Try to mix only ¼ of your grout per coat so that it won't dry out. Add enough water to make your grout thin and soupy. Add coloration now if you are using it.
Brush your grout onto your styrofoam. Make sure you get into all of the cracks and crevasses, including the bottom. Let it dry overnight between coats. Apply three coats to ensure that everything is covered.
If you didn't use colorant, paint with acrylic paint.
Apply three coats of sealant to your cave. Make sure you get it everywhere. Allow it to air for a few days.
Clean up and make sure that everything is safe and ready for your reptile to move back in.
Copyright © 2005-2016 Pet Information All Rights Reserved
Contact us: www162date@outlook.com