A peafowl shelter should be sturdy enough to shelter the fowl from wind and rain and large enough to house all of the birds. Each bird needs between six and eight square feet to allow room for the tail during mating season. Make the shelter from thin plywood sheets, 2 by 4 plywood posts and fiberglass panels for the roof. To make this project go even faster, have one or more people help with the project. This job requires basic to moderate carpentry skills.
Post digger
2 by 4 posts
Cement
Table saw
½-inch plywood sheets
2-inch wood screws
Power screwdriver
Fiberglass sheets
Foam insulation spray
Peafowl roost (optional)
Plan the shelter on a piece of paper before starting the project. Place a post at the four outside corners, then ever 36 inches along the walls of the shelter. Leave an opening for the peafowl to use as a doorway.
Outline the desired dimensions of the shelter inside the bird cage. Use spray paint to mark the position of all of the posts to facilitate the design of the shelter.
Dig the holes for the posts using a post digger. Make each hole about 24 inches deep and slightly wider than the posts. Cut each post to a length of about 4 feet.
Fill the holes halfway with cement. Stick the posts into the cement and fill the rest of the hole with dirt. Allow the cement to set for 24 hours.
Cut the plywood sheets into 36 by 48-inch sections. Screw the wood sheets to the posts with wood screws. If necessary, cut the boards a few inches smaller to get them to fit around the shelter walls.
Place a 2 by 4 board across the top of all of the posts, outlining the perimeter of the shelter. Nail the boards to the posts.
Place fiberglass sheets on top of the boards. Overlap the sections of fiberglass by 1-inch. Use screws to secure the sheets to the boards. Use epoxy glue to hold the fiberglass joints together.
Fill in any gaps in the shelter walls or roof with foam insulation spray. Allow the spray to dry for 24 hours before allowing the birds to come into the shelter. Make sure the shelter is watertight so that the birds do not get dripped on.
Add a roost inside the shelter, if desired. This provides the birds a place to sit and grip for sleeping and resting.
 Bird Leg Band Identification
Bird Leg
Bird Leg Band Identification
Bird Leg Band Identification
Bird Leg
 How to Make Squirrel Proof Bird Food Seed
How to Make Squirrel Proof Bird Food Seed
How to Make Squirrel Proof Bird Food Seed
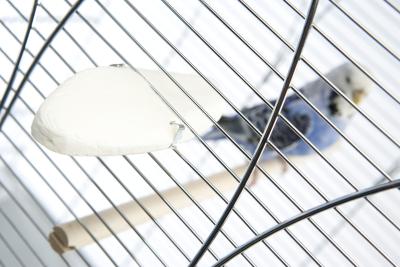
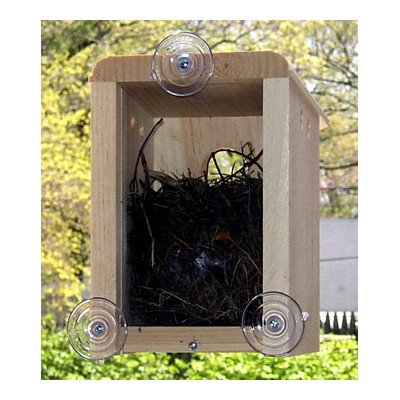
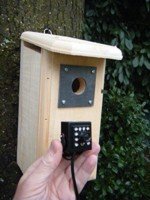 Bird House Camera
I know many will disagree, b
Bird House Camera
I know many will disagree, b
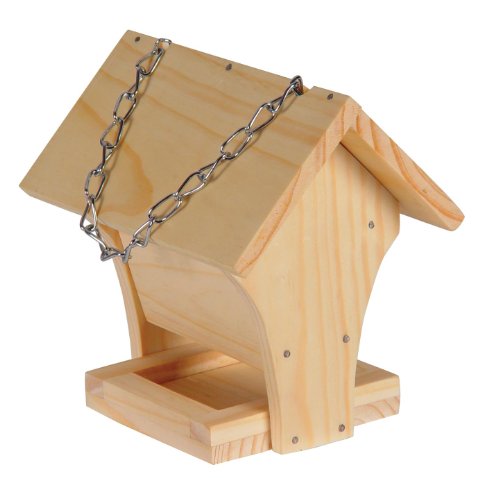 How to Make Edible Bird Houses
We all love to feed the bird
How to Make Edible Bird Houses
We all love to feed the bird
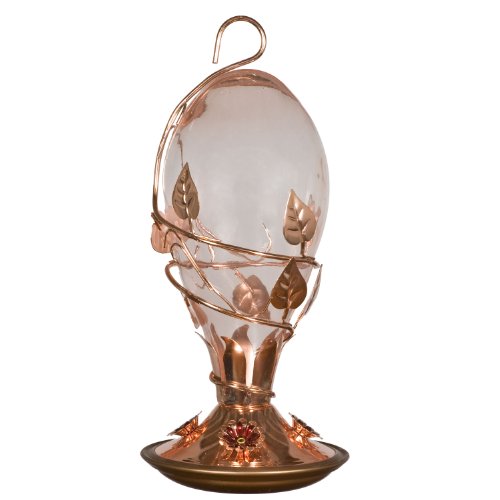 Hummingbirds and Flowers
Using a homemade hummingbird
Hummingbirds and Flowers
Using a homemade hummingbird
Copyright © 2005-2016 Pet Information All Rights Reserved
Contact us: www162date@outlook.com