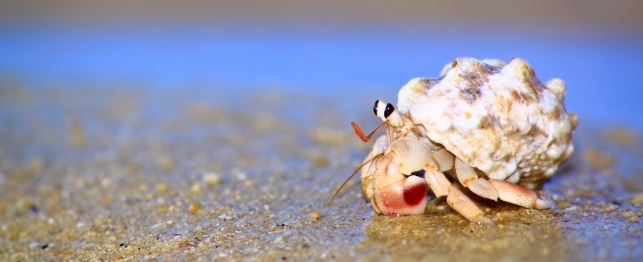
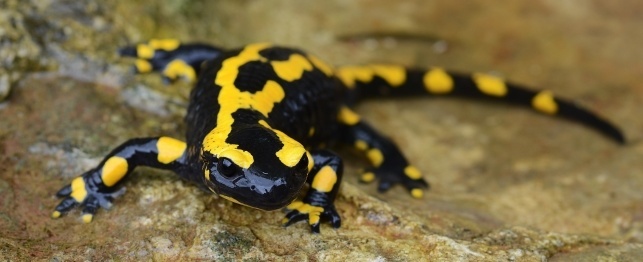
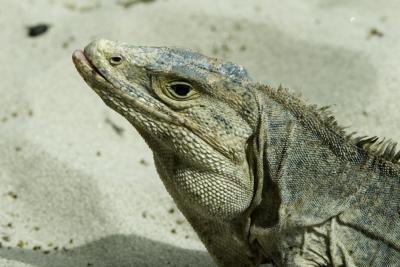
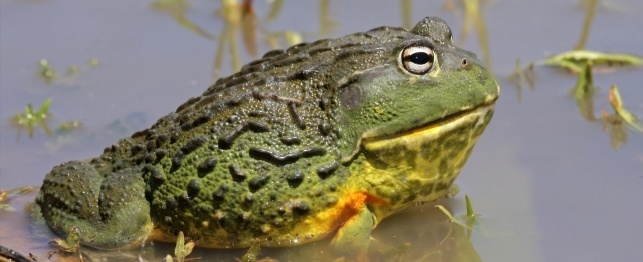
How to Make a Reptile Tank Out of a Dresser. Large reptile enclosures can be both difficult and costly to come by, and oftentimes present enthusiasts with the added challenge of finding a visually pleasing way to display their pets in the living room. A popular trend in the herpetological society is in cages modeled after large pieces of furniture, meant to be placed centrally in a home. Unfortunately, the costs of purchasing many of these cages can be extremely prohibitive for the average buyer. Luckily, with some creativity and elbow grease, you can easily convert an old dresser into the perfect display case and home for your reptile.
Remove the drawers and the drawer dividers from the dresser, as well as any hardware and internal dividers, to leave a bare box. You will also most likely need to remove the bottom of the dresser, as many low to mid-quality dressers use thin pressboard for the bottoms, which will not support the internal structure of your finished cage.
Measure the bottom opening of the dresser, and cut the ½” plywood to size.
Insert the plywood bottom into the dresser, and nail in place from the back and sides of the dresser.
Run a thin bead of wood epoxy around the inner seams, and smooth into the crevices with a Popsicle stick or cloth. Allow to dry 24 hours.
Cut the sliding door track (available in the cabinet section of most home improvement stores; the plastic kind is cheapest and works better than metal for this project) to fit the cage front, and mount using the appropriate mounting hardware.
Measure the front opening of the cage, and either cut the Plexiglas sheets to fit, or have them cut at a home improvement store. Test that they fit into the tracks, but leave them aside for the time being.
Cut out rock shapes from the polystyrene using a serrated knife, and epoxy them in place in your cage. This is where you get to be creative, and images of real rocks can help you sand and chisel the polystyrene into the forms you want. Alternately, if a simple show-tank is more your style, skip ahead to step 8 to finish the cage without any added décor.
Mix the tile grout according to package instructions, but add a little extra water to achieve a loose, soupy consistency.
Apply a thin layer of grout in the color desired to the polystyrene and the dresser floor, using a paintbrush. Allow the first coat to dry for 24 hours, and then apply a second, thicker coat of grout, building up your rock-forms and smoothing out crevices as you work. Apply additional coats as needed, letting each layer dry thoroughly in between applications. Wait at least 24 hours before continuing to the next step.
Seal the entire interior of the enclosure using an acrylic grout sealer. You can alternately use a pond sealant, which will waterproof the inside of the cage entirely, but may leave a less appealing “gloss” finish.
Mount any interior lighting you intend to use in the cage.
Slide the Plexiglas doors onto their tracks, and check for snug closure.

Copyright © 2005-2016 Pet Information All Rights Reserved
Contact us: www162date@outlook.com