DIY Horse Trailer Living Quarters. Horse trailers are an expensive thing to buy even without the fully equipped living quarters. Save yourself some money by modelling that part of the trailer yourself.
Measure the size of the living quarters and make a note of where the plumbing and electrical outlets will need to go. Make this plan as detailed as possible, taking note of height, width and depth.
Take the measurement of the walls and cut the insulation to size. Attach to the trailer frame using the aluminum tape. The insulation is unlikely to be cut in a single piece so make sure that all gaps are filled. The type of insulation that you use will depend largely on the climate that you live in.
Use the screws to horizontally attach the stripping to the support beams of the trailer. The stripping should be attached down the full height of the wall with gaps of 12 to 14 inches.
Cut the plywood to fit the floor of the trailer and screw to the bottom of the trailer. You will need to cut several pieces of plywood to cover the whole surface and when joining them, push them together as close as possible while still making sure that the boards are flat. Running aluminium tape over the gap not only helps to secure them but will also stop drafts.
Build the bases for the cabinets and benches by screwing the foot boards together. Secure in place by screwing to the floor of the trailer. If you are going to have a bed in your trailer you will need to build a base for this. When you are deciding what fixtures to have in your trailer you should think about exactly what you are going to need remember that, for comfort, it should not be too cramped.
Install the plumbing and electrical systems. Depending on your own knowledge, you might want to hire someone to do this part of the job for you especially if there will be a lot of electrical appliances and a working toilet.
Install the cabinets and worktops and secure to the base boards using screws. If you are putting a bed in the trailer this will also need to secured to the floor of the trailer with screws. If in doubt add more screws than you might ordinarily because everything within the trailer must remain in place when it is moving.
Attach the panelling to the stripping making sure that the edges of the panelling are pushed together. Use the trim to neaten the edges.
Lay the floor covering of your choice. Laminate tiles would be hard wearing but you my prefer carpet which would be warmer.

 How to Calculate How Much to Feed a Horse
How to Calculate How Much to Feed a Horse
How to Calculate How Much to Feed a Horse
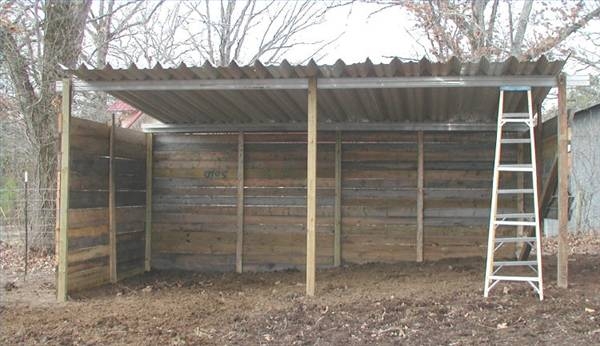 How to Build a Single Horse Barn
How t
How to Build a Single Horse Barn
How to Build a Single Horse Barn
How t
 How to Put Weight on a Horse in Poor Condition
How to Put Weight on a Horse in Poor Condition
How to Put Weight on a Horse in Poor Condition
 Wood Types for Horse Stalls
Wood Types
How to Become a Certified Horse Trainer
How to Become a Certified Horse Trainer
Wood Types for Horse Stalls
Wood Types for Horse Stalls
Wood Types
How to Become a Certified Horse Trainer
How to Become a Certified Horse Trainer
Copyright © 2005-2016 Pet Information All Rights Reserved
Contact us: www162date@outlook.com