How to Hook Up a Horse Harness. The horse harness has played a critical role in the evolution of the military, transportation and agriculture. Early cultures developed the harness as a means of employing horses and other animals for drawing wagons, chariots and plows. Harnessed horses allowed ancient man to increase his farming productivity and journey farther with heavier payloads.
Know the components of the harness: rein terrets, saddle, backstrap, crupper, crupper dock, loin strap, breeching, traces, breeching strap, backband, bellyband, girth, hame tug and tugs. The standard driving bridle consists of a head or crown piece, winkerstay, winkerstay buckle, rosettes, throat latch, cheekpiece, bit, curb chain noseband, blinders or blinkers, facedrop and browband. The straight collar is comprised of a neck, throat, whale, rim, cap and bodyside and connects to the harness through the use of hames.
Tie the horse securely using a halter and lead rope or cross-ties.
Brush the horse to reduce dirt, which may become uncomfortable under the harness.
Attach the saddle to the girth.
Position the saddle and girth on the withers and fasten the girth beneath the belly. Do not tighten the girth until the horse is connected to the cart, wagon or buggy.
Center the breeching over the horse's rump, under the tail and around the buttocks. Secure the harness straps to the trace carrier on the harness until the horse is ready to connect to the cart, wagon or buggy.
Lift the tail and wrap the crupper underneath, buckling it to the back strap at the top of the tail.
Unsnap the rope or ropes from the halter, keeping the horse secure by holding onto its halter.
Slide the collar, upside down, over the horse's head and attach the rope or cross-ties to the halter. An upside-down collar allows the widest part to pass over the horse's eyes. Turn the collar right-side up once it has cleared the head. Turn the collar in the same direction as the natural growth of the mane.
Center the hames on the top of the collar and connect with the straps attached to each hame.
Buckle the false martingale around the collar and hamestrap. Make sure the traces are buckled, twisted and pulled to prevent them from dragging on the ground.
Unfasten the girth and thread it through the false martingale, then buckle it securely.
Weave the driving lines from the rump of the horse through the rein turrets on the saddle and hang them on the hames.
Remove the halter from the horse's face and fasten it around the neck to secure the horse.
Bridle the horse by inserting the bit into the horse's mouth and pulling the headstall over the ears. Fasten the throat latch and curb chain.
Attach the driving lines to the rings on the bit.
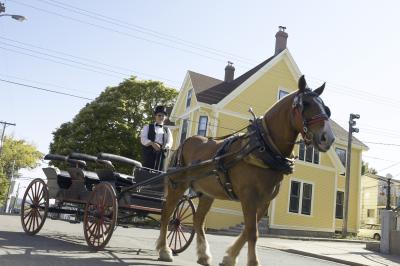 How to Hook Up a Horse Harness to a Cart
How to Hook Up a Horse Harness to a Cart
How to Hook Up a Horse Harness to a Cart
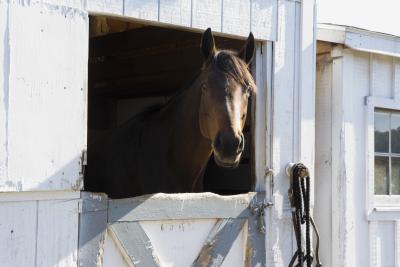 Ideas for Nice Horse Stalls
Ideas for
Ideas for Nice Horse Stalls
Ideas for Nice Horse Stalls
Ideas for
 How Can I Get My Horse to Stop Eating Wood?
How to Fatten an Underweight Horse Safely
How to Fatten an Underweight Horse Safely
How Can I Get My Horse to Stop Eating Wood?
How Can I Get My Horse to Stop Eating Wood?
How to Fatten an Underweight Horse Safely
How to Fatten an Underweight Horse Safely
 Wood Types for Horse Stalls
Wood Types
Wood Types for Horse Stalls
Wood Types for Horse Stalls
Wood Types
Copyright © 2005-2016 Pet Information All Rights Reserved
Contact us: www162date@outlook.com