First let me start off and answer the question that many people may be thinking. What is a whelping box? A whelping box is a wooden box with sides used by pet owners and breeders for the expecting mother to give birth in. The approximate size for a large dog when finished out should be 4’ x 5’ x 4’. When building for smaller animals you need to adjust the size for instance a medium size dog the box should be 3’x 4’x 3’. The list of supplies you will need for a large dog will consist of 4 - ¾” x 4’ x 5’ sheets of OSB wood, do not use treated because it gives off gases that could be harmful to animals and humans in confined areas. You will also need approximately 50’ of 2” x 4” boards , 2 gallons of primer, 2 gallons of paint, 2 heavy duty door hinges, 1 medium sized barrel bolt, a paint brush and roller with paint tray, #6 or #8 wood screws 1 1/2” long, and 19’ of 2” x 6” boards.
Let’s start off with the floor of the box cut one sheet of the OSB to finish out at 5 foot 6 inches. Now cut two pieces of 2” x 4” board at approximately 4 foot which should be the width of the OSB wood. Stand the boards up so that you have around 3 5/8 “ from the inside of the OSB to the top of the 2” x 4” board and attach to the 4’ end of the OSB with the wood screws. In between the 2” x 4” boards you should have approximately 5 foot 2 inches so cut two more 2” x 4” boards to fit this space and attach. You should now have what appears to be a miniature sand box. Next step the sides, cut two sheets of the OSB the same length as the floor approximately 5 foot 6 inches long leaving it four foot wide and attach to the 5 foot 2 inches long 2” x 4” boards of the floor. Cut another sheet of the OSB in half approximately 4 foot x 4 foot attach it to one of the 2” x 4” boards of the floor to form a back.
Pay very close attention to this part. Cut two pieces of the 2” x 6” boards approximately 5 foot 6 inches attach them to the 2” x 4” boards of the floor with screws and the sides with screws. Now cut two additional 2” x 6” boards to go in between the two you just attached with screws. Attach one of the boards to the 2” x 4” board at the back and the OSB at the back with screws. Attach the other 2” x 6” board to the remaining 2” x 4” board that will eventually be the door of the box. This step will involve cutting the 2” x 4” boards for corners of the box make sure to get an accurate measurement it should be around 3 foot 7 inches. Cut the boards and install with the screws making sure they do not penetrate through the 2” x 4” boards to the inside of the box. Since, any protrusions could be a possible safety hazard; for example; a pointed screw end sticking out inside the box could hurt any animal inside.
Finally, the door… Measure the space of the remaining end for the door with the last piece of the OSB, which should approximately be 4’ x 4’ and cut to fit. Now, using your own judgment to place the board for making the door; attach the two hinges. Make sure that the door will work properly when opening and shutting. Now, cut the remaining 2” x 4” to wrap around the door for support. Next, measure in between the four 2” x 4” that were just attached to the door. Measure, cut the 2” x 4” and attach on center for more support for the door. On the opposite side of the hinge, measure cut and attach another 2” x 4” to the outside of the box where the door opens and shuts. Now, install the barrel bolt for locking mechanism for the door. Make sure that all wood is clean from any dust or debris, inspect inside for any objects that could harm a pet. Apply two coats of primer allowing drying between coats; following with two coats of paint allowing for those to dry in-between as well. In following instructions correctly, you should now have your very own whelping box.


 The Differences Between A European Polecat And A Domestic Ferret
The Differences B
The Differences Between A European Polecat And A Domestic Ferret
The Differences B
 8 Dental Problems To Look Out For In Cats
8 Dental Problems
8 Dental Problems To Look Out For In Cats
8 Dental Problems
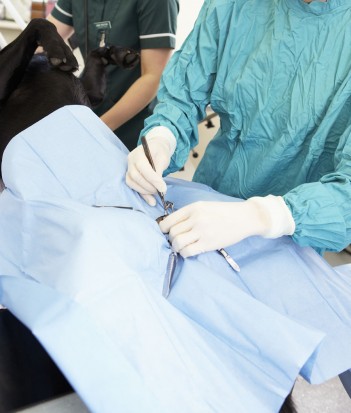 Neutering And Spaying - Is It Morally Right?
Neutering And Spa
Neutering And Spaying - Is It Morally Right?
Neutering And Spa
 What To Do If Pet Gerbils Start Fighting
What To Do If Pet
What To Do If Pet Gerbils Start Fighting
What To Do If Pet
 The Saint Bernard And Heart Disease
The Saint Bernard
The Saint Bernard And Heart Disease
The Saint Bernard
Copyright © 2005-2016 Pet Information All Rights Reserved
Contact us: www162date@outlook.com