The days of crouching in the damp grass to reach your rabbit抯 hutch or getting muddy knees while cleaning it out are, thankfully, in the past. Many designs raise the occupant up to its owner抯 waist level, and also make use of space below, with a lower 慺loor?for storage, for example. Perhaps the most ingenious of all rabbit hutches are those built with an under-run. Designed to sit on the grass, the advantage of the run located underneath ?a sort of lower-ground floor ?is that it provides a shaded place for grazing, that most natural of activities and the ideal source of food for the rabbit. Of course, many people buy or build rabbit homes that are far more than rabbit hutches, but more like aviaries or like mesh-sided garden rooms!
But if space is limited (or major building work is not your strong suit), there are plenty of more than adequate dual-function rabbit hutches on the market that provide owner-friendly qualities and are spacious enough for average-sized bunnies. The fact that rabbits, once they reach adulthood, vary considerably in size does (no pun intended!) mean that prospective owners, or recent purchasers, of still young rabbits need to look ahead and allow for growth. Worth noting is that young rabbits ?sometimes, oddly, called leverets (the same as the word for young hares) ?should not be taken from their mother before they are eight weeks old. As an absolute minimum, the hutch you build or buy should be five times the size of your rabbit.
A good deal of the advice available to the internet-adept rabbit owner suggests that a wire mesh floor is not to be used. Although this does seem the logical solution for keeping the hutch largely dropping-free, in fact, rabbits?soft pads and their equally unprotected hocks can easily get bruised on a wire floor.
Looking first at the prospect of building one抯 own rabbit hutch: the best way forward is to draw up highly detailed plans. Several compartments are unnecessary, and indeed thought not to be what rabbits want. While views are mixed, some stating that rabbits are content with just a single area to live in, the conventional arrangement ?main area with wire mesh front and separate enclosed sleeping quarters ?seems to reflect rabbits?actual behaviour. They really do hop next door to have a kip.
The most straightforward way to build rabbit hutches is first to construct your frame. Some DIY enthusiasts recommend 2″x4″ boards. For the frame, saw four of the boards to the required length (width of the hutch). Depth and height ideally will both be a minimum of 24″. Assuming that is the measurement, and that the width of your hutch is to be 38″you will also need to saw eight lengths. Working on the 2-Dimensional base of the hutch first, using hammer and nails, join a 38″length to one of the 24″ pieces to create an L. Next, nail a new 38″ piece to the far end of the 24″ piece. You now have a U-shape. To complete the rectangle, nail a second 24″ piece to connect the two long sides. Place the frame lengthwise on you work surface with one long side facing you.
Next, nail a 24″ board to each corner of the frame. The board should point upward toward the ceiling. Nail the boards so that the 4″ widths are facing you from each of the four corners.
It is a simple matter, particularly if you employ a set square, to now add an upright rectangle perpendicular to the edge that is facing you. To create the opposite upright rectangle, turn the structure through180 degrees and repeat the previous steps. Nail another 48″ piece between the 24″ upright boards.


 Protein-losing Enteropathy In Dogs
Protein-losing En
Protein-losing Enteropathy In Dogs
Protein-losing En
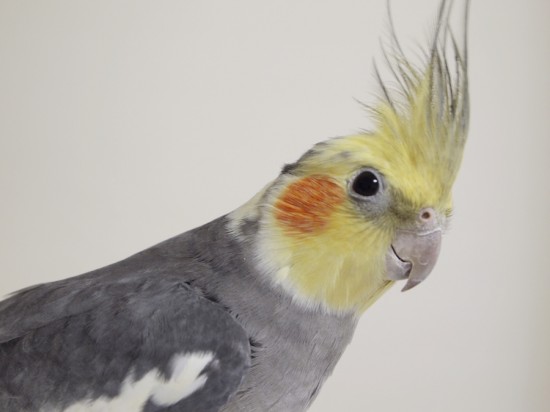 Considering A Cockatiel?
Considering A Coc
Considering A Cockatiel?
Considering A Coc
 How To Make Life Easier For Guests With Cat Allergies
How To Make Life
How To Make Life Easier For Guests With Cat Allergies
How To Make Life
 How To Keep A Newfoundlands Coat Looking Good
How To Keep A New
How To Keep A Newfoundlands Coat Looking Good
How To Keep A New
 Dog Food - How To Compare And Get Best Value For Money
The dog food topic is widely discussed nowadays and many
Dog Food - How To Compare And Get Best Value For Money
The dog food topic is widely discussed nowadays and many