As a guy, I have made fun of puppies wearing apparel for many years. At this point, as a man with a nice puppy I've noted myself with the importance for dog outfits. Any time the weather condition gets very cold as well as your pet dog has very little hair, you should do something or you start getting puddles in the house! I had an old pair of denims with a knee torn out. I had an old fleece scarf of which I never wear any longer. A little measuring and sketching and I was ready to get started. I had fun making Dottie's jacket and hope that you have fun as well. The jacket I wound up with is customized just for Dottie's size. I even thought it was clever to add one of the back pockets to the side of her jacket. (for treats? ) I'll give you the steps that I followed and urge you to be creative and give it a try yourself!!
Step 1: Components
Pick up a few old clothes... a pair of jeans as well as a fleece scarf is exactly what I used. When you wish to use a flannel shirt as well as sweatshirt, no problem. I suggest something for the outer shell that's durable such as denim or another heavy cotton. For the lining, anything you would use to stay warm can be used for your puppy. I also used a sewing machine but you can pretty easily sew by hand if you don't have a machine or just prefer to do so. I picked up some "industrial strength" Velcro at a local department store. A piece of chalk will also come in handy... I'll cover that in another step. A pair of scissors and a measuring tape and you'll be ready to go!
Step 2: Design a plan! Measure your puppy...
Almost all dog clothes are a pretty basic plan. Pretty much imagine a blanket with a hole in the front to put the head through as well as something to fasten around the stomach or chest. I did not have a cloth tape to measure my dog so I used a string to measure and held it to a tape measure I had open on a table to get the lengths. Measure around the neck below where the collar usually sits as well as make sure you allow room for the dog's head to fit through. Keep in mind it's always easier to trim off a bit more than scrap it and start over if it's too small. In case you want to add a fastener at the front, you can do that likewise. You want to provide enough room in order that your pet dog can moved comfortably to play or "other" activities he or she may do outdoor.
Step 3: Cut Pieces
Bear in mind any time you are cutting your pieces to allow for seams. I gave myself an additional 1/4 Inch for every seam I was attending put in. This is not the step which I added the Velcro... it will come soon after. I just simply added the image to show how I saw the jacket coming together. For piece A, I used the front of a jeans leg with the knee of the jeans toward the lower back of the dog. This gave a little extra give in an area that the dog usually bends while running and also performing. I also did not have any pattern paper so I used a piece of chalk to make rough sketches on the denim. This made way for me to see where the cuts ought to be without having to do multiple trimmings or cut too short on a piece. If perhaps you want to use a Velcro closure on the front and also the bottom, add enough size to make an overlap and remember your seam allowance!
Step 4: Putting the pieces together
This is where it actually gets enjoyment! You can see that my jacket came out a bit different from the original sketch. I decided to add a back pocket from the jeans to the side panel of the jacket. For piece A, I used the front of a jeans leg. The other pieces I cut from the back of my jeans. The back of jeans tend to have slightly larger pieces than the front. Like working a puzzle, you can put the pieces together in a way that you can make a good fit for your dog. Once I had the shell (denim) pieced together, I tried it on the dog to make sure I was going to get a good fit with the finished project.
Step 5: And the lining goes in...
I took a wide fleece scarf and also cut it in half. This method gave me two pieces which I could sew together to make a solid piece wide enough to cover the inside of the jacket. By cutting it just smaller sized than the denim shell, I was able to roll the edges over and pin them. As I sewed around the edge of the entire jacket, I removed the pins. Simply by cutting a small V in areas that had sharper curves, I was able to get the denim to lay down over the fleece lining. It looks a little rough but I was going for function more than fashion. Anyone with better skills than myself would be able to finish the edges and make a more attractive product.
Step 6: Adding Velcro fastener
Simply by adding the Velcro going horizontal on one side as well as vertical on the other side this gives you maximum grip with easier fastening. This also offers you a little space for error. While you attach your velcro, keep in mind to sew around the edge and then back and forth across the middle to give you the most stability.
Step 7: Put on and take pleasure in!
A number of quick tips... if perhaps your canine has never worn any items of apparel, this may take an adjustment period of time. I don't suggest you to feel you can stick the clothing on the dog and hit the street. It took a little while for Dottie to get accustomed to putting on her jacket. As soon as she realized she stayed warm any time she wears it... she gets excited when I get it out due to the fact she knows it's time to go outside the house and play! By letting her wear it for a few short periods of time and then a couple of short walks, she got used to the jacket. Appreciate the cold weather with your doggie and please share pictures or perhaps stories with me!
Keep your pet looking fashionable with the latest dog clothes, shoes and apparel. From dresses and jumpers, to hoodies and bows, it's all at TAGreat.com.
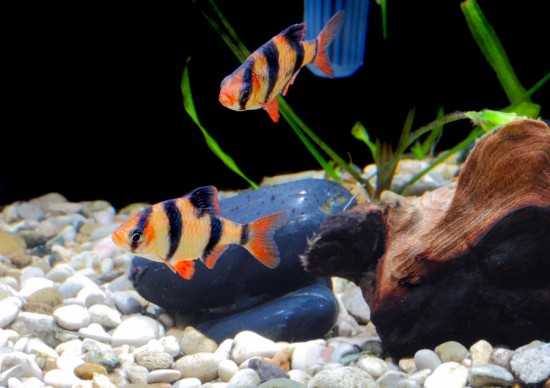 Common Tropical Fish Diseases
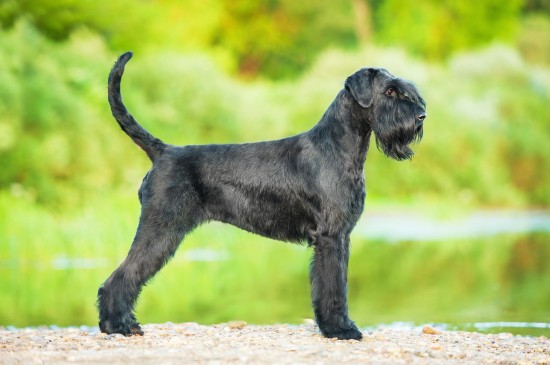 Is A Giant Schnauzer The Right Choice Of Dog For You?
 Get the quality pet care at veterinarian clinic in South Arlington
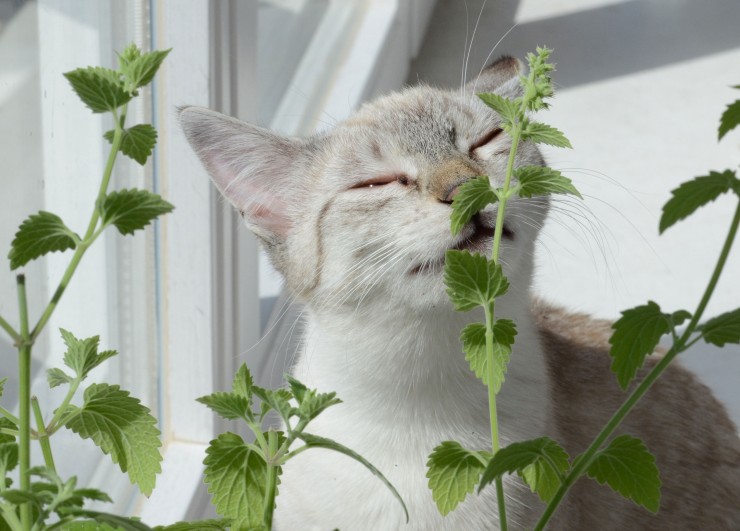 Why Some Cats React So Strangely To Catnip And Others Dont
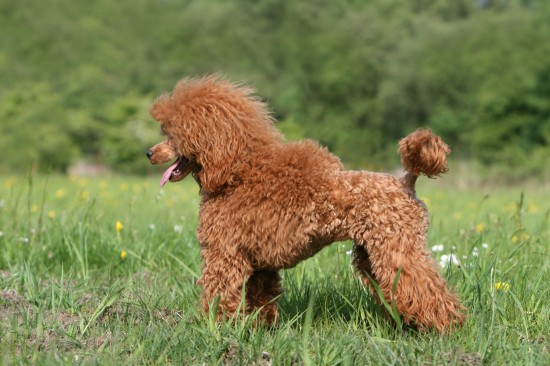 Miniature Poodle Hereditary Health And Health Testing
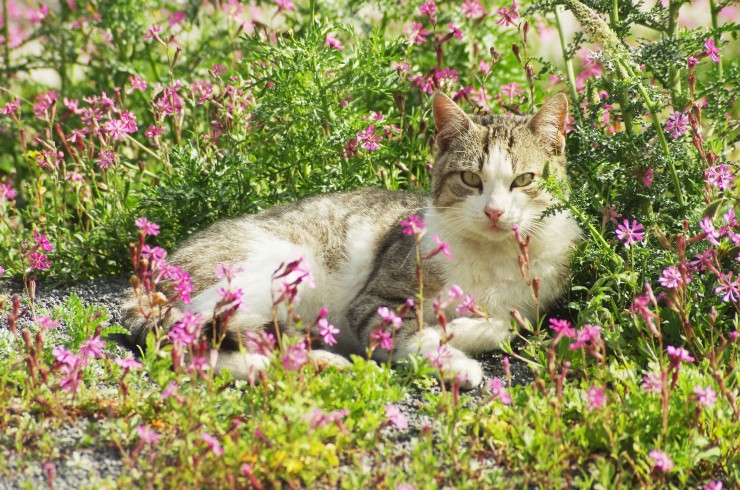 Is It Safe To Give Catnip To A Cat With Health Issues?
Copyright © 2005-2016 Pet Information All Rights Reserved
Contact us: www162date@outlook.com