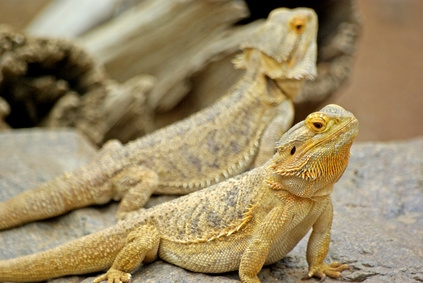
How to Build Reptile Enclosures. Large reptiles need large enclosures, and often the tanks for sale at pet stores are built for fish and not lizards. Thus, many of them are slim and tall and do not provide much ground for reptiles to move around in. While many species of reptile can survive in very small habitats, this situation is not ideal. Building your own custom reptile habitat is a clever alternative to purchasing a ready made aquarium at retail. This way, you will be able to design the enclosure to your exact specifications. You can create a low, wide enclosure for a ground-dwelling species, or a tall enclosure if your pet likes to climb.
Draw up plans for your enclosure, keeping in mind that acrylic sheets are sold in 4-by-8-foot pieces. Decide how large of a habitat your pet needs and whether you want a cage that is oriented horizontally for a ground-dweller, or vertically for an arboreal species.
Buy your acrylic sheets from a plastic supplier. Bring your plans with you and ask the dealer to cut the pieces in the sizes you need. Most dealers will do this free of charge. Do not remove the protective covering from the acrylic until you are done with your project in order to keep it clean and unscathed.
Assemble the base and sides of the tank and secure them with the masking tape on the outside of the tank. Make sure that the pieces are straight, the edges match perfectly and there are no gaps in the seams between the pieces.
Draw the protective paper back from the edges of the tank so that you do not accidentally glue it in. Seal the pieces together using silicone sealant from the inside of the tank. Apply the sealant generously so that you get a strong hold and smooth it into the seams with your index finger. Allow the sealant to dry for at least 48 hours, or as directed by the packaging.
Remove the protective paper from the lid piece. Make holes for ventilation in the lid of the acrylic using your drill. Make a lot of holes so that the tank is well ventilated, but don't make the holes too large. Your reptile can fit its entire body through any hole large enough for just its head, and snakes are especially adept at escaping. Do take any chances with large holes. You can also use the drill to create a notch in the back of the lid if you want to run an electrical cord through from a heat rock.
Glue the hinges to the underside of the lid using the clear sealant. Be careful not to get the sealant in the rotating part of the hinge. Allow the sealant to dry for 48 hours.
Place the lid on top of the tank in the position you want it to stay in when shut. Use the sealant to glue the other halves of the hinges to the inside of the back of the tank, so that your lid is now affixed to your tank. Also use the sealant to attach the hook and latch for the lock on the front of the tank and the lid. It is a good idea to put a lock on your tank because many species are escape artists. This will also prevent children from handling your pet unsupervised. Allow the sealant to dry another 48 hours and the tank is ready to use.

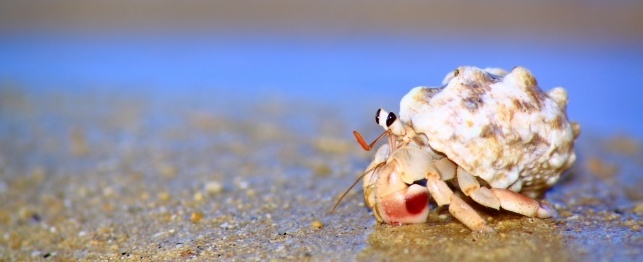 Unusual Pets - The Hermit Crab
Unusual Pets - The Hermit Crab
Unusual Pets - The Hermit Crab
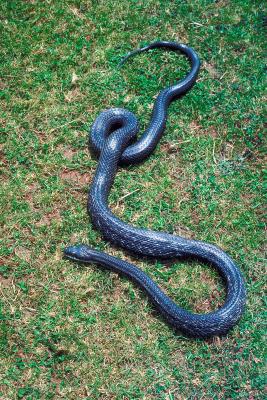 How to Care For a Black Rat Snake
How
How to Care For a Black Rat Snake
How to Care For a Black Rat Snake
How
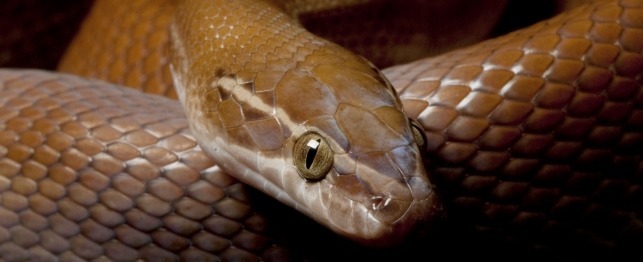 Choosing a Brown House Snake
Choosing a Brown House Snake
Choosing a Brown House Snake
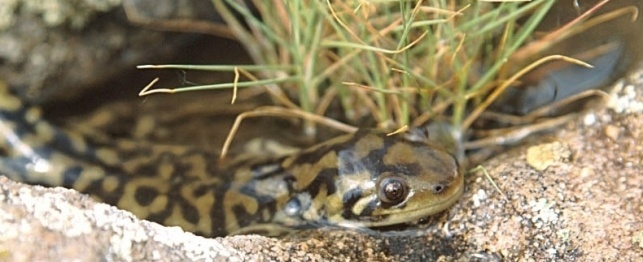 Choosing a Tiger Salamander
Choosing a Tiger Salamander
Choosing a Tiger Salamander
 How to Build a Large Reptile Cage
How
How to Build a Large Reptile Cage
How to Build a Large Reptile Cage
How
Copyright © 2005-2016 Pet Information All Rights Reserved
Contact us: www162date@outlook.com