Taking kitty to the groomer for regular nail clippings can be the glamorous option, but it can also be expensive. If you’re living on the shabby side of chic (or simply like to take care of things yourself), then home claw trimmings are your best bet.
The easiest way to get your favorite feline accustomed to claw trimmings is to start when kitty is young. If you were too lazy start early (or if the cat came to you as an adult), then it’ll take patience, perseverance, and practice to get your cat used to the idea.
So how do you clip a cat’s claws without an ensuing blood bath? That, my dear friends, depends on the cat. Seriously, some cats will take to it, others won’t. But most will eventually suffer through the event. Here are some step-by-step instructions to help.
Before you start, inspect your cat’s claws under a bright light. Gently squeeze the paw to extend the nails. You’ll see the pink tissue (sometimes referred to as "the quick") in the middle of the nail. You must cut below that or you will cause pain and bleeding. In the below image you can see the safe cut line — below the yellow line.
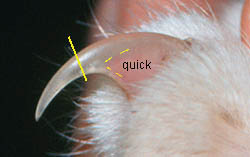
It is better to cut just a small part of the nail to avoid the quick rather than cut too close. This is especially true of the first few times you clip your cat's nails, since you want him to both get used to the clippings, and don't want him to associate nail clipping with pain.
Now to the clippers. Special cat clippers are available, but don't fret; plain old people clippers work, too. You’ll also need treats, a good, strong light source, and an astringent powder or pencil in case you do accidentally cut into the quick (if this happens, don’t panic; soothe your cat and treat the wound with the astringent pencil or powder to help stop it bleeding). Ready to get started?
Step 1
Pick a comfy spot in a well-lit room. Have everything ready. And make sure there’s a special treat for kitty for after the trimming.
Step 2
Hold your cat firmly between your knees, or in whatever position is best for you and your cat (you need to make sure the cat is secure). Take hold of the front paw and gently squeeze to extend the claw.
Step 3
When you have a good view and hold, position the clipper a comfortable distance from the quick.
Step 4
Clip the claw vertically. This helps prevent the nail from splitting. Do it in one smooth motion.
Step 5
Reward your cat after this momentous occasion (the treat also doubles as a bribe; hey, you’re not bleeding yet, right?). Repeat with each claw as your cat allows.
***
And there you have it, the easy, step-by-step guide to trimming your cat’s claws. Don’t worry if kitty only allows you to do one claw. Just try again the next day, one claw at a time until you've done them all.
Of course, if your cat absolutely refuses to allow you to do this (and thus ending your new career in cat grooming), don’t worry. You can keep trying when your cat is sleepy or feeling affectionate. Keep using bribes like favorite treats, and throw in lots of praise while you’re doing it. Utilize the help of a friend or family member to assist with the project. If all attempts fail, then simply get a professional to help -- go to a reputable groomer, or ask for it to be done during your cat's regular wellness check at the vet's office.
Image: Sergey Gerashchenko / Shutterstock

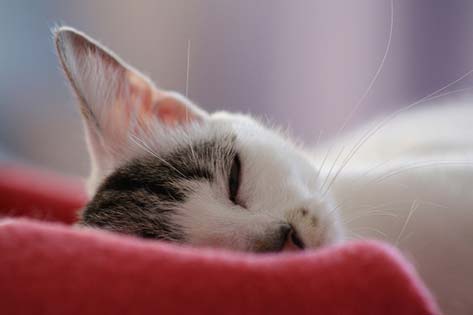 Why Do Cats Sleep So Much?
Cats sleep an average of fifte
Why Do Cats Sleep So Much?
Cats sleep an average of fifte
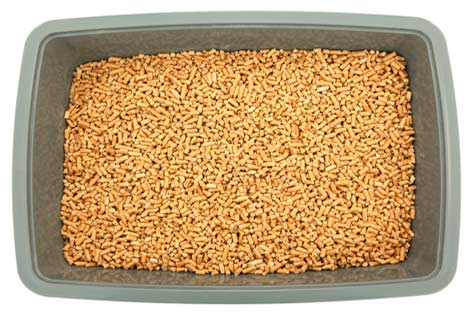
 Why Grain Free Cat Food May Not Always Be the Best Choice
How to Know if Your Pet Needs Gluten or Grain
Why Grain Free Cat Food May Not Always Be the Best Choice
How to Know if Your Pet Needs Gluten or Grain
 Cats and Children - Keeping Both Safe
 Cats and children make
Cats and Children - Keeping Both Safe
Cats and Children - Keeping Both Safe Cats and children make
 Concerns About Pet Food Recalls and Safety Paramount to Owners, petMD Survey Finds
By Lorie Huston, DVM
May 1, 2013
&
Concerns About Pet Food Recalls and Safety Paramount to Owners, petMD Survey Finds
By Lorie Huston, DVM
May 1, 2013
&
 Cats & Babies - Can They Co Exist?
 There are many varied
Cats & Babies - Can They Co Exist?
Cats & Babies - Can They Co Exist? There are many varied
Copyright © 2005-2016 Pet Information All Rights Reserved
Contact us: www162date@outlook.com