No one can resist a fluffy cute little chick, whether it is a chicken, duck, or peacocks. In this modern age hatching your own chicks has never been more affordable or easy. Whether you are hatching chick to raise as meat bird, egg layers, or just to educate your children on the joys of life you can do it with minimal effort.
You do not need a large incubator that baby chick companies need to hatch massive amounts of eggs. You can find a good incubator to fit your needs for around $70 dollars.
The key to a good incubator is proper temperature control. You can buy incubators with built in turning mechanisms, but it is cheaper to turn them by hand. What you should look for in an incubator is one that again, has reliable temperature control. It should also be made out of a material that does not leak heat. Styrofoam is a particularly energy efficient material to lock in the appropriate amount of heat.
You will also want an incubator that can be washed easily. There is not a huge amount of mess when the baby chicks are born, but because of the damp and warm environment of an incubator, it is a breeding ground for germs. If an incubator is not cleaned and left to dry out after each hatching it can breed germs that hurt both humans and your new born chicks.
As I said before, you can buy and incubator that does the egg turning for you, this is recommended. If you choose to forgo the turning mechanism, do note that you will have to turn the eggs at least four times a day. It is preferred that you turn them every hour. Unless you have a lot of time to do this, or know someone who does, you will want to get an automatic turner.
I have found that the best incubator for a small amount of eggs is the Mini Advanced Incubator. The Mini Advanced hold around 7 chicken eggs, it is air temperature controlled, and comes with an automatic turner and countdown to hatch. It also has alarms that go off if you should say, forget to put the lid on.
The Mini Advanced Incubator comes preset to 99.5 degrees, which is the temperature for hatching chicken eggs. So when it comes out of the box, it is ready to use.
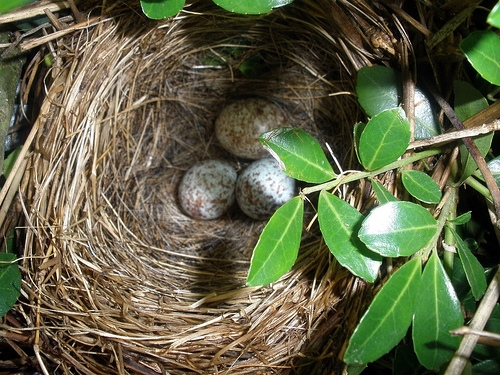
Now that you have a way to hatch eggs, you will need eggs to hatch. If you have a few hens and a rooster, you are all set. You can fish the eggs away from the hen right after they are laid and place them in the incubator.
Though if you do not have chickens, you should try to find your fertile eggs from a local source. Go to the local feed store and ask if they is any place you can buy fertile eggs. If you cannot find any sellers locally, you can buy them from a catalog.
Buying fertile eggs from a catalog should be your last possible option. Eggs can often get damage from being jostled around when shipping. The boxes are not temperature controlled either, so the eggs can often die from being too cold.

Candling is not as it sounds, candling is a method to see the growth of your chick first hand. This a good way to check and see if you got fertile eggs are not. Candling does not necessarily have to be done with a candle either. A lamp or light bulb will do just fine and be much safer.
Candling can be done as early as five days after incubation and continued all the way through the development process. Just be sure not to candle too often, if you leave an egg out too long, it will get cold and the chick will be at a higher risk of premature death.
Candling during the early phases of development is recommended because it checks for fertility. There is not often much to see, but there is something to look for. You should look for a little speck, this is blood and a few cells. If you see something that looks like a little speck with veins spreading from it, this is your chick developing. This means that the egg is fertile and growing.
Do not give up on your egg if you candle it five days after incubating and see nothing. Give it another week, if you still see nothing, the egg is bad and should be removed from the incubator and thrown away.

The Mini Advanced incubator will let you know when it is close to your eggs hatching time and should take the appropriate measures. If you are turning your eggs by hand, know exactly when the eggs are going to hatch. Two days before they are set to hatch, stop turning the eggs. Make sure that your incubator is full on its water reserves as well. The incubator needs to be filled with humidity so that life outside the shell is not such a shock to the little chick.
Try to resist opening the incubator during the hatching process, this lets the precious heat and humidity out.
After you see the first chip in the egg shell it should take anywhere for six to twenty four hours for the chick to fully emerge. If you see the chick struggling to get out of the shell, do not help it. This is something the chick needs to do on its own. If you help, there is a chance you will damage the chick or take it out before it is fully developed.
If a large piece of shell is stuck to one of your chicks, you can open it up and pick it off, but otherwise keep the incubator closed until the chick has fluffed itself up.
After the chick is out, remove from incubator and put under a warm lamp with game bird starter feed and water. The chicks can survive on the yolk they ate when in the womb for two or three days, but after that, they should be eating and drinking. If they are having trouble, try to give them a little push by dipping their beaks in the food or water.
 Easy to Make Bird Trap for Small Birds
Easy to Make Bird Trap for Small Birds
Easy to Make Bird Trap for Small Birds
 Bird Mites Treatment
Bird Mites Treatm
Bird Mites Treatment
Bird Mites Treatment
Bird Mites Treatm
 Exploretrip Partners With Take Trips Guard To Deliver Travel Insurance
Any most famous elegance in the metropolitan area is none
Exploretrip Partners With Take Trips Guard To Deliver Travel Insurance
Any most famous elegance in the metropolitan area is none
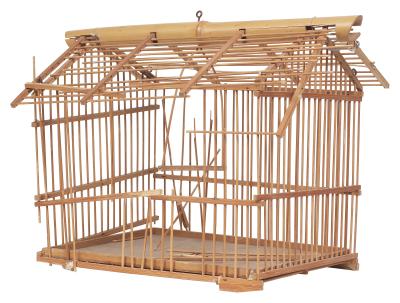
 How to Make a Bird Trap
How to Make a
How to Make a Bird Trap
How to Make a Bird Trap
How to Make a
 The Hamburg Chicken
Poultry BreedsThe Hamburg Ch
The Hamburg Chicken
Poultry BreedsThe Hamburg Ch
Copyright © 2005-2016 Pet Information All Rights Reserved
Contact us: www162date@outlook.com