In order to have a successful poultry, and more specifically chicken, operation, it is essential that you have the proper housing and equipment for your birds. I guarantee, if you follow the tips I have lined out in my previous articles, you will find your new venture much more enjoyable, and much more successful. Since you have begun the journey, let's continue with chicks...now the fun begins!
Chicks require quite a bit of attention and care, therefore you must be ready for their arrival. Make sure the "brooder" or new home is ready, whether it be a sturdy cardboard box or an elaborate set-up. You will need plenty of clean bedding (plenty, because for little critters, they poop a lot and make a mess!), chick feeders, chick waterers, and a heat source.
Bedding: Bedding can be wood shavings or straw which needs to be at least 2 inches thick. I prefer the wood shavings, as these little guys and gals will start "scratching" the moment they touch the ground! This bedding needs to stay as clean and dry as possible...so, you will be cleaning your brooder on a regular basis!
Heat: As far as heat goes, chicks need an environment with a temperature of approximately 90 degrees for the first week of life. You may drop the temperature in your brooder 5 degrees per week as the chicks get bigger and stronger. Many people use a heat lamp which is suspended approximately 24 inches above the brooder floor. This lamp should have 250 watt bulb, although I have heard of folks using a 100 watt light bulb. In any case, the lamp should be suspended above the center of the brooder so that the chicks have ample opportunity to get away from the heat if they need to. Ideally, the coolest spot in your brooder should be no less than 70 degrees. I have never used a heat lamp...just a wood stove for heat, and I have had great success in raising my chicks. The best way to tell if your chicks are doing okay is to watch them. If they are running, leaping, chirping, eating, etc., they are just fine...like all young things! A cold bird will be huddling, and a hot bird will be as far away from the heat source as possible. Adjust the temperature accordingly. Hey, if I can do it with a wood stove, and I admit, it's pretty tricky...you can do it!
Feeders and waterers. Special chick feeders and waterers are worth the initial investment, although a simple waterer can be made with a canning jar and plate. The most important thing is to keep both the feed and water free from contamination...good luck! You'll be replacing and cleaning both at frequent intervals! Chicks must have food and water as soon as you get them home or in their brooder. You may have to dip their beaks in the water to teach them how to drink and where to drink, but from then on, this should not be a problem. Always keep the feeders full and near the heat source so they will eat. I would HIGHLY recommend purchasing "chick start" which is feed that is specifically formulated for new chicks. You will feed this feed for approximately the first 7 weeks of life. Not only does it contain the proper protein percentage, but it also is medicated to prevent coccidosis. Coccidosis is caused by chicks ingesting feces...trust me, it's worth the investment. As time goes on, you can supplement the chick start with "scratch", which is basically a combo of corn, wheat and barley.
Raising "chicks" is probably the most difficult aspect of raising chickens. Once you get through the first initial weeks, you will feel more confident and secure about your operation. The best rule of thumb is to just use common sense. For more infomation on basic chicken raising tips, preserving eggs, recipes using your chicken products, I invite you to follow the links below where these issues will be addressed from time to time. "Chirp-up" and have an egg-stordinary day!
 How to Setup Your Aviary and Manage Your Birds
Organizing your AviaryAt las
How to Setup Your Aviary and Manage Your Birds
Organizing your AviaryAt las
 Learn and Create: Attracting Owls to Your Backyard
This series of articles will
Learn and Create: Attracting Owls to Your Backyard
This series of articles will
 How to Disinfect a Bird Cage and Bird Toys
How to Disinfect a Bird Cage and Bird Toys
How to Disinfect a Bird Cage and Bird Toys
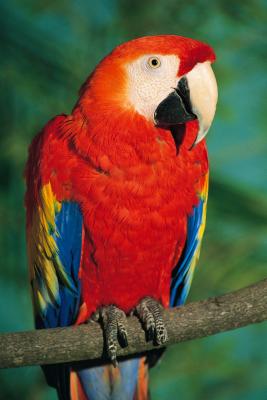
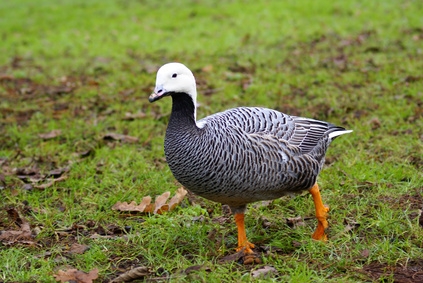 Northern California Bird Identification
Northern California Bird Identification
Northern California Bird Identification
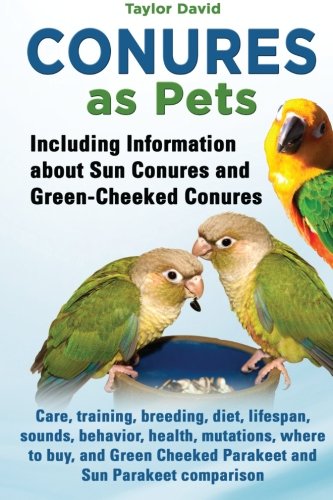 The Green Cheek Conure as a Pet
I’ve owned birds for a
The Green Cheek Conure as a Pet
I’ve owned birds for a
Copyright © 2005-2016 Pet Information All Rights Reserved
Contact us: www162date@outlook.com